What is in this Article?

Painting Drywall
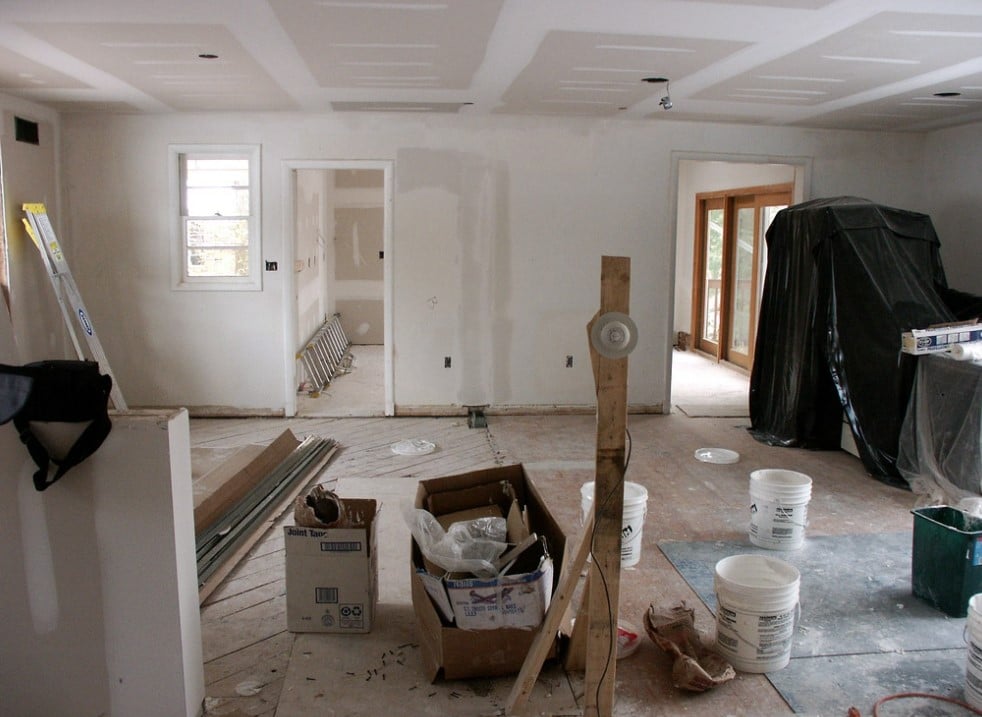
Painting Drywall seems like an easy task. Assumedly, you would paint it like you would anything else. However, that is not the case.
Notably, drywall is great at sucking up paint. Indeed, you could paint a coat and not realize how much more you need. Also, it can cause a mess. If your room is not properly treated, you could cause damage to your flooring.
Due to this, you must ensure you are painting drywall correctly. Once you learn, it is not a hard painting project to follow. Just follow these steps and your drywall will look great.
Prep for Painting Drywall
To start, you need to prep your walls before they can be painted. Indeed, there are some crucial steps that need to be taken.
1. Inspect Your Drywall
First, inspect your drywall for any dents or gouges. If you find any, fill it up with drywall mud or a similar paste. If you do not, your painting job can look uneven. Doing this ensures that the final product looks as clean as possible.
2. Cover Your Surfaces
Next, run painter’s tape around the edges of all trim, casings and baseboards, and cover furniture with plastic cloth. This way, none of your furniture will get dirty.
However, be sure all areas are covered, because paint can easily get between gaps in the plastic. A good idea is to use the painter’s tape to tape the plastic to the surfaces.
3. Sand Your Drywall
Thirdly, sanding is the best way to ensure your walls are smooth of painting. If your walls are not smooth before painting, you will see bumps on your wall after it is painted. Instead of using more coats to cover these marks, sanding makes the walls smooth to start with.
To do this, you can buy a sander to make the job quick and easy. If you don’t have one of these, though, there is another option. Instead, take sandpaper and strap it to a block of wood. Then, lightly sand all the walls you plan to paint.
4. Clean Your Walls
After sanding, make sure all your walls are cleaned. This ensures that no dust or debris will get trapped under the paint and make the wall look dirty.
To do this, mix 1 cup of white vinegar into a bucket with one gallon of water and soak a sponge in the mixture. Then, scrub the wall until all the dirt comes off. Indeed, this is the best way to get your walls clean. Make sure your drywall is clean before your next step.
5. Primer Before Painting Drywall
Lastly, priming your walls is one of the most vital steps. Indeed, if you put a coat of primer on your walls, the paint will not absorb as much into the drywall. This means your wall will look better with fewer coats.
So, applying a primer before you start painting your drywall ensures the best possible paint job. Then, once the walls are primed with drywall primer, painting can begin.
Painting Your Drywall
At this point, you can finally start painting your drywall. First, decide if you want to roll your paint or spray it on. Indeed, spraying is a lot faster, but it usually takes more prep.
Also, you need to ensure you have proper ventilation, which can be tricky in some rooms. If you want to spray, make sure all surfaces are well covered and good ventilation is possible.
Next, make sure you have enough paint for at least two coats. With one coat, the paint can look spotty and unfinished. With two coats, the paint looks fresh and complete.
Now, you can also decide if you want a finish. This gives the room that extra sparkle.
If you decide to use rollers, prep some trays and pour the paint inside of them. Then, get your rollers and make sure they have no debris on them. Roll the roller in the tray and roll it on the wall.
Make sure you are painting evenly and within the tape lines. Also, you can use smaller brushes for the hard to reach edges.
Painting Drywall Easily
Indeed, it may seem like a lot of extra steps to paint drywall. However, doing so ensures that your wall will look amazing. If you want someone else to paint for you, call Titan Construction for a free quote today.

